1、安装json-server用来测试axios发送请求
npm i -g json-server安装完成后,在项目新建db.json文件:
{
  "users": [
    {
      "id": "2",
      "name": "张三",
      "age": 22,
      "addr": "四川省成都市"
    },
    {
      "id": "1f0b"
    },
    {
      "id": "24e2",
      "name": "李四",
      "age": 25,
      "addr": "北京市东城区"
    },
    {
      "id": "707a",
      "name": "王五",
      "age": 28,
      "addr": "延安市宝塔区"
    }
  ]
}运行:json-server -w json_server/db.json我的json文件在json_server目录下,所以这里的参数要带完整路径。运行成功后将得到一个用来测试的后端接口。

2、axios的使用
axios官方文档:http://www.axios-js.com/zh-cn/docs/
2.1、在html网页中使用axios
先引入:<script src="https://unpkg.com/axios/dist/axios.min.js"></script>
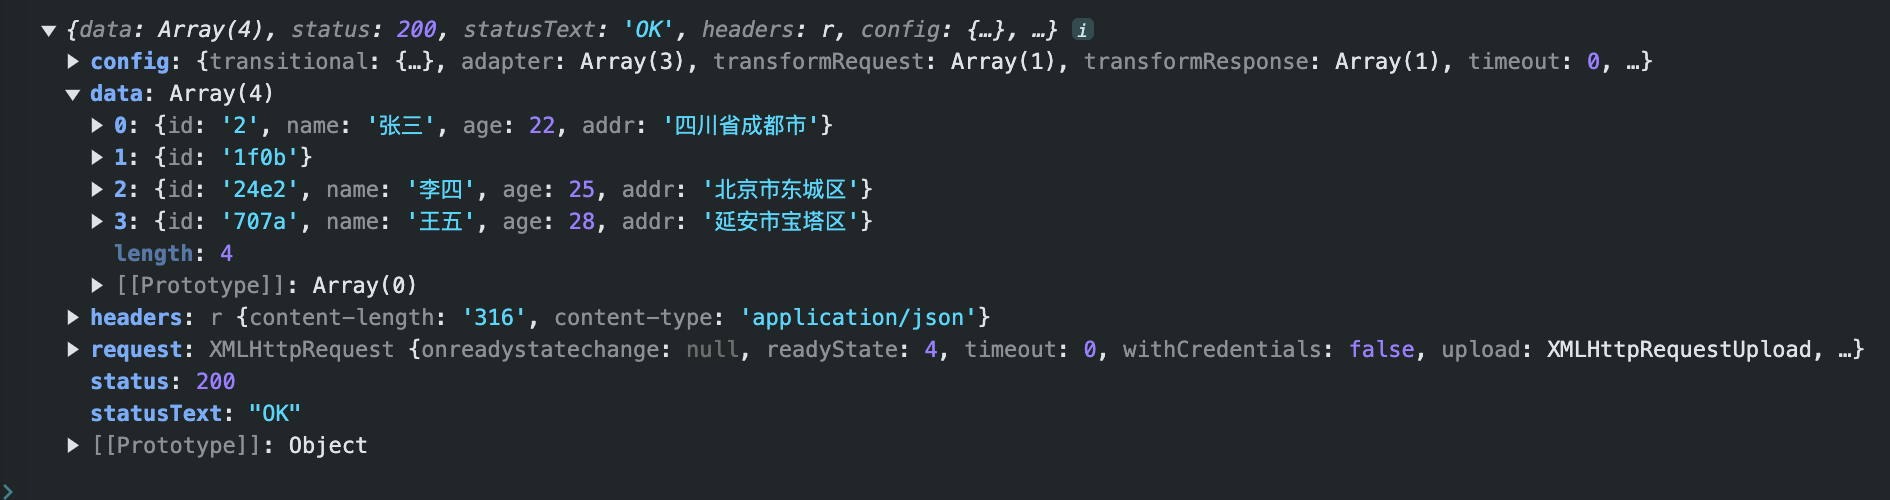
(1)、发送get请求
<script>
   axios.get('http://localhost:3000/users')
   .then(function (response) {
       console.log(response);
   })
   .catch(function (error) {
       console.log(error);
   });
</script>
输出结果:
2.2、在vue3中使用axios
运行npm init vue@latest命令初始化一个vue项目。
在vue项目中运行npm i axios命令安装axios。安装完成后修改src/App.vue文件为如下代码:
<template>
<div>
<h2>vue3中axios的使用</h2>
</div>
</template>
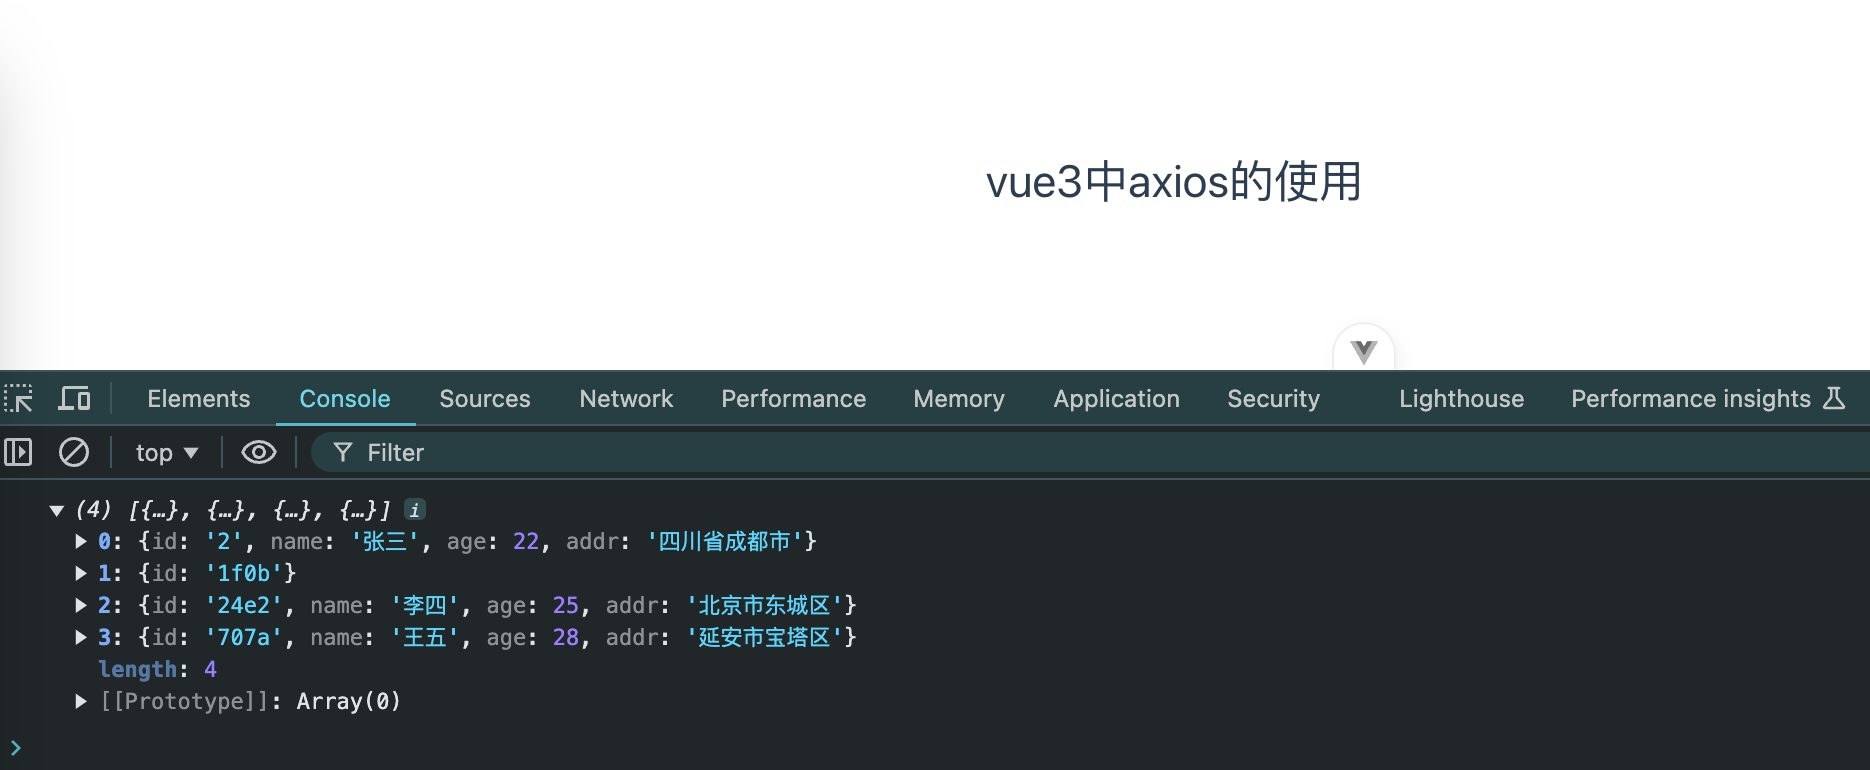
<script setup>
import axios from "axios"; //引入axios
axios.get('http://localhost:3000/users').then((res)=>{
console.log(res.data);
});
</script>运行结果:
3、axios作为对象使用请求接口实现增删改查
3.1、axios发送get请求
(1)、发送无参get请求
<script>
        axios.get('http://localhost:3000/users')
        .then(function (response) {
            console.log(response.data);
        })
        .catch(function (error) {
            console.log(error);
        });
</script>
(2)、发送有参get请求
<script>
  	//{params:{id:1,name:'zhangsan'}}是参数构建语法,这个请求中有2个参数:id和name
  	axios.get('http://localhost:3000/users',{params:{id:1,name:'zhangsan'}})
  	.then(function (response) {
    	console.log(response.data);
  	})
  	.catch(function (error) {
      	console.log(error);
  	});
</script>最终请求的url为:http://localhost:3000/users?id=1&name=zhangsan
3.2、axios发送post请求
(1)、发送无参post请求
<script>
   axios.post('http://localhost:3000/users')
   .then((res)=>{
      console.log(res);
   })
   .catch((err)=>{
      console.log(err);
   });
</script>
(2)、发送有参post请求
<script>
   let student = {
       "name": "刘德华",
       "age": 58,
       "addr": "香港"
   };//定义参数对象
   axios.post('http://localhost:3000/users',student)
   .then((res)=>{
       console.log(res);
   })
   .catch((err)=>{
       console.log(err);
   });
</script>
3.3、axios发送put请求
<script>
	let post = {
      		'title' : '中文标题',
      		'views' : 200
	};
	//修改id为1的post的title和views
	axios.put('http://localhost:3000/posts/1',post)
	.then((res)=>{
   		console.log(res.data);
	})
	.catch((err)=>{
		console.log(err);
	})
</script>
3.4、axios发送delete请求
<script>
	//删除id为1的post
	axios.delete('http://localhost:3000/posts/1')
	.then((res)=>{
		console.log(res.data);
	})
	.catch((err)=>{
		console.log(err);
	})
</script>
4、axios作为方法使用请求接口实现增删改查
4.1、发送get请求
<script>
	const params = {
  		id: 1
	};
  	params: params
	axios({
		method:'get',
		url:'http://localhost:3000/posts/',
		params: params
	})
	.then((res)=>{
		console.log(res.data);
	});
	.catch(error => {
		console.error(error);
	});
</script>
4.2、发送post请求
<script>
	//添加一条post
	axios({
		method:'post',
		url:'http://localhost:3000/posts/',
		data: {
			title: '新闻标题222',
			views: 300
		}
	})
	.then((res)=>{
		console.log(res.data);
	})
	.catch((err)=>{
		console.error(err);
	});
</script>
4.3、发送put请求
<script>
	//修改id为2的post
	let post = {
		'title' : '中文标题111111',
		'views' : 500
	};
	axios({
		method:'put',
		url:'http://localhost:3000/posts/2',
		data: post
	})
	.then((res)=>{
		console.log(res.data);
	})
	.catch((err)=>{
		console.error(err);
	});
</script>
4.4、发送delete请求
<script>
	//删除id为2的post
	axios({
		method:'delete',
		url:'http://localhost:3000/posts/2'
	})
	.then((res)=>{
		console.log(res.data);
	})
	.catch((err)=>{
		console.error(err);
	});
</script>
5、指定默认配置
5.1、配置默认的api域名
axios.defaults.baseURL="http://localhost:3000";
然后发送请求的时候就不需要在url中使用完整api请求路径了:
axios({
	method:'get',
	url:'/posts',
	params:params
})

axios({
	method:'put',
	url:'/posts/9da7',
	data: post
})
6、axios.create(config)
(1)、根据指定配置创建一个新的axios,也就就每个新axios都有自己的配置
(2)、新axios只是没有取消请求和批量发请求的方法,其它所有语法都是一致的
(3)、为什么要设计这个语法?
需求:项目中有部分接口需要的配置与另一部分接口需要的配置不太一样,如何处理
解决:创建2个新axios,每个都有自己特有的配置,分别应用到不同要求的接口请求中
实例:当项目中有两个后端服务器的时候,需要请求的端口/域名不一样的时候,通过配置axios.create(config)来实现。
<script>
	const instance = axios.create({
		baseURL : "http://localhost:3000",
	});
	const instance2 = axios.create({
		baseURL : "http://localhost:4000",
	});
	instance({
		url: '/posts',
	})
	.then((res)=>{
		console.log(res.data);
	});
	//或者使用
	//instance.get('/posts');

	instance2({
		url: '/xxx',
	})
	.then((res)=>{
		console.log(res.data);
	});
	//或者使用
	//instance2.get('/posts');
</script>除了baseURL,axios.create(config)中还有如下配置项:
- baseURL: 用于设置请求的基础 URL,请求时会自动拼接在 URL 前面。
- headers: 设置请求头,可以包含一些自定义的头信息。
- timeout: 设置请求超时时间,超过这个时间后请求会被中断。
- params: 设置请求参数,会被序列化成查询字符串附加到 URL 上。
- data: 设置请求体的内容,通常用于 POST、PUT 等请求。
- method: 设置请求的方法,比如 GET、POST、PUT、DELETE 等。
- auth: 设置 HTTP 基本认证信息,包括 username 和 password。
- responseType: 设置响应数据的类型,比如 arraybuffer、blob、document、json、text 等。
- transformRequest: 设置请求数据的转换函数,可以对请求数据进行处理。
- transformResponse: 设置响应数据的转换函数,可以对响应数据进行处理。
- validateStatus: 自定义响应状态码的验证函数。
- withCredentials: 表示跨域请求时是否携带凭据,比如 Cookie。
- xsrfCookieName 和 xsrfHeaderName: 用于设置防止跨站请求伪造(XSRF)的 Cookie 名称和请求头名称。
7、axios拦截器及运行流程
常见的拦截器的作用:
添加公共请求头:可以在请求拦截器中添加公共的请求头,比如 token、用户信息等,避免在每个请求中重复设置这些信息。
请求数据处理:在请求拦截器中可以对请求数据进行处理,比如序列化数据、添加时间戳等操作。
错误处理:在响应拦截器中可以统一处理请求错误,比如处理网络错误、身份验证失败等情况。
响应数据处理:可以在响应拦截器中对返回的数据进行统一处理,比如解析数据、格式化数据等操作。
请求/响应日志记录:可以在拦截器中记录请求和响应的日志,方便调试和监控。
权限控制:可以在请求拦截器中进行权限控制,比如检查用户是否有权限访问某个接口。
<script>
        //请求拦截器(回调函数)
        axios.interceptors.request.use(
            config => {
                // 在发送请求之前做些什么
                console.log("request interceptor1 success onResolved()");
                return config;
            },
            error => {
                // 对请求错误做些什么
                console.log('request interceptor1 error onRejected()');
                return Promise.reject(error);
        });

        axios.interceptors.request.use(
            config => {
                // 在发送请求之前做些什么
                console.log("request interceptor2 success onResolved()");
                return config;
            },
            error => {
                // 对请求错误做些什么
                console.log('request interceptor2 error onRejected()');
                return Promise.reject(error);
        });

        //响应拦截器
        axios.interceptors.response.use(
            response => {
                console.log('response interceptor1 success onResolved()');
                return response;
            },
            error => {
                console.log('response interceptor1 error onRejected()');
                return Promise.reject(error);
            }
        );

        axios.interceptors.response.use(
            response => {
                console.log('response interceptor2 success onResolved()');
                return response;
            },
            error => {
                console.log('response interceptor2 error onRejected()');
                return Promise.reject(error);
            }
        );

        axios.get('http://localhost:3000/comments')
        .then((res)=>{
            console.log(res);
        })
        .catch((err)=>{
            console.error(err);
        })
</script>
运行结果:

请求拦截器后定义的先执行。
8、取消请求
8.1、取消请求的常见场景和作用
用户操作变化:当用户在进行某个操作时,可能会触发多个请求,但是最终只需要最后一个请求的结果。这时可以取消之前的请求,只保留最后一个请求。
组件销毁:当一个组件被销毁时,如果该组件发起了一个异步请求,为了避免请求结果返回后更新已经销毁的组件而导致的问题,可以取消该请求。
网络较慢:如果用户在等待请求返回的过程中取消了操作,可以取消正在进行的请求,节省带宽和资源。
节省资源:避免不必要的请求可以节省服务器资源和网络带宽。
8.2、取消请求的实现
(1)、手动取消请求
<!DOCTYPE html>
<html lang="en">
<head>
    <meta charset="UTF-8">
    <meta name="viewport" content="width=device-width, initial-scale=1.0">
    <title>axios取消请求</title>
    <script src="https://unpkg.com/axios/dist/axios.min.js"></script>
</head>
<body>
    <button onclick="getData()">发送请求</button>
    <button onclick="cancelGet()">取消请求</button>
    <script>
        //axios取消请求
        let cancel;//用于保存取消请求的函数
        function getData(){
            axios.get('https://api.github.com/users',{
                cancelToken: new axios.CancelToken(c => {//c是用于取消当前请求的函数
                    //保存取消函数,用于之后可能需要取消当前请求
                    cancel = c;
                })
            })
            .then((res)=>{
                console.log(res);
            })
            .catch((err)=>{
                console.error(err);
            });
        }

        function cancelGet(){
            //执行取消请求的函数
            if(typeof cancel == 'function'){
                cancel("强制取消请求");
            }
        }
    </script>
</body>
</html>测试:先点击“发送请求”按钮,再点击“取消请求”按钮,运行结果如下:

(2)、在发起请求之前取消未完成的请求
<!DOCTYPE html>
<html lang="en">
<head>
    <meta charset="UTF-8">
    <meta name="viewport" content="width=device-width, initial-scale=1.0">
    <title>axios取消请求</title>
    <script src="https://unpkg.com/axios/dist/axios.min.js"></script>
</head>
<body>
    <button onclick="getData()">发送请求1</button>
    <button onclick="getData2()">发送请求2</button>
    <button onclick="cancelGet()">取消请求</button>
    <script>
        //axios取消请求
        let cancel;//用于保存取消请求的函数
        //使用请求拦截器
        axios.interceptors.request.use(
            config => {
                //在发送请求前,取消未完成的请求
                if(typeof cancel == 'function'){
                    cancel("强制取消请求");
                }
                //添加一个cancelToken配置
                config.cancelToken = new axios.CancelToken(c => {//c是用于取消当前请求的函数
                        //保存取消函数,用于之后可能需要取消当前请求
                        cancel = c;
                });
                return config;
            },
            error => {
                // Do something with request error
                return Promise.reject(error);
            }
        );

        //使用响应拦截器
        axios.interceptors.response.use(
            response => {
                cancel = null;
                return response;
            },
            error => {
                //取消请求的错误
                if(axios.isCancel(error)){
                    //请求被取消
                    console.error('请求取消了',error.message);
                    //终端promise链接
                    return new Promise(()=>{});
                }else{
                    //请求出错,将错误向下传递
                    cancel = null;
                    return Promise.reject(error);
                }
            }
        );

        function getData(){
            axios.get('https://api.github.com/users')
            .then(
                response => {
                    console.log(response);
                },
                error => {
                    console.error('请求出错了',error.message);
                }
            )
        }

        function getData2(){
            axios.get('https://api.github.com/users')
            .then(
                response => {
                    console.log(response);
                },
                error => {
                    console.error('请求出错了',error.message);
                }
            )
        }
    </script>
</body>
</html>
连读不间断点击“发送请求2”按钮来重复请求,运行结果如下:
